latest products

-
Qiuck Delivery
USPS & CanadaPost
-
Order protection
Secured Information
-
Promotion Gift
Special Offers!
-
Returns
Return over 14 Days
TOP RATED


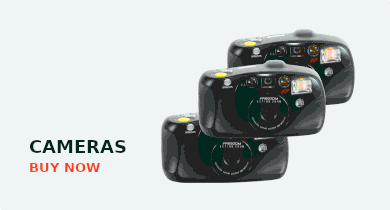

Vintage Cameras - Reviving the Past

daily deals
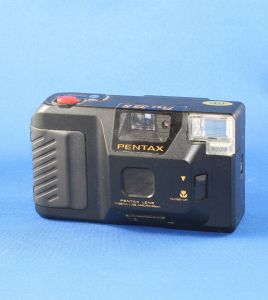
Pentax Pino 35S Point & Shoot 35mm Film Camera
$49.99
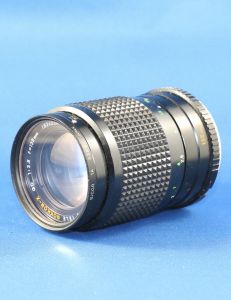
Pentax Lens f=35mm 1:3.8 Macro 45cm
Brand: PENTAX
Designed and manufactured in Japan
Type of Film: 35m...
Brand: PENTAX
Designed and manufactured in Japan
Type of Film: 35m...
Hurry Up!
Offers end in:
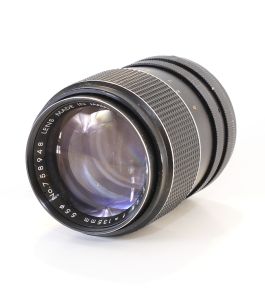
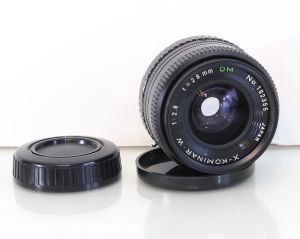
Minolta MC Tele Rokkor-X QD 1:3.5 f=135 mm Camera Lens
$34.99
Brand: Minolta
Compatible Filter Size: 55mm
Filter: Sicor 1A 55mm Japan
Focal Length: 135mm
Focus...
Compatible Filter Size: 55mm
Filter: Sicor 1A 55mm Japan
Focal Length: 135mm
Focus...
Hurry Up!
Offers end in:
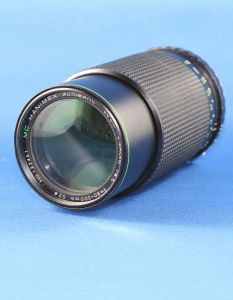
Hanimex Automatic Zoom C-Macro 1:4.5 f=80-200 mm Camera Lens
$29.99
Focus Type: Zoom
Focal Length: 80-200mm
Brand: Hanimex
Compatible Filter Size: 52mm
Focus Range: ...
Focal Length: 80-200mm
Brand: Hanimex
Compatible Filter Size: 52mm
Focus Range: ...
Hurry Up!
Offers end in:
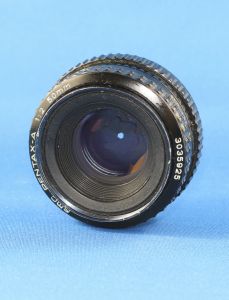
SMC Pentax-A 1:2 50mm Film Camera Lens
$29.99
Brand: Pentax
Focal Length: 50mm
Focus Type: Manual
Focus Range: 0.45 m to Infinity
Color is Blac...
Focal Length: 50mm
Focus Type: Manual
Focus Range: 0.45 m to Infinity
Color is Blac...
Hurry Up!
Offers end in:
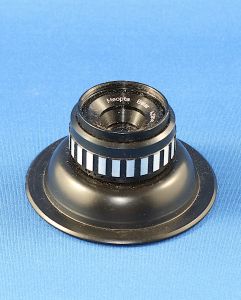
Meopta Belar 4,5/50 Lens
$29.99
Darkroom Enlarger Lens
Brand: Meopta
Type:Enlarging Lens
Darkroom Enlarging Lens Focal Length: 50 mm...
Brand: Meopta
Type:Enlarging Lens
Darkroom Enlarging Lens Focal Length: 50 mm...
Hurry Up!
Offers end in:
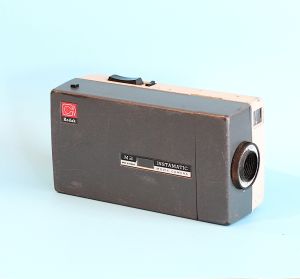
Kodak M2 Instamatic Movie Camera
$39.99
Kodak Instamatic Movie Camera
Made in Toronto, Canada By Canadian Kodak Co., Limited
Model: M2
Lens: K...
Made in Toronto, Canada By Canadian Kodak Co., Limited
Model: M2
Lens: K...
Hurry Up!
Offers end in:

Trending Items
- Electronics
- Books
- Photography
- Clocks
- Collectibles


New Items
- Photography
- Books
- Clocks
- Vintage Audio & Video Electronics


most viewed